We are back with another Excel shorty and today's shorty guide is about selecting entire columns in Excel. Some people are mouse-savvy and the other half are keyboard warriors. We’ll show you how to select full columns with both.
And then there are some Excelled gurus who know their way around the Name Box and Named Ranges. In this tutorial we’ll cover all four ways; how to select entire columns using the mouse, keyboard, Name Box, and Named Ranges. Ready?
Let’s get selecting!

Method #1 – Using Mouse
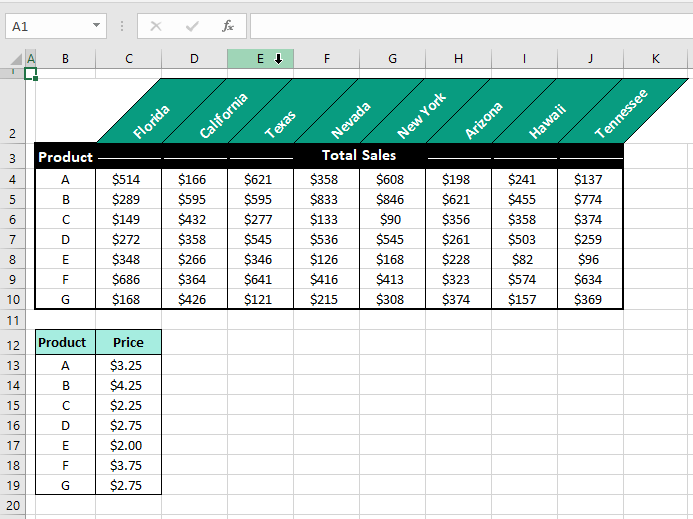
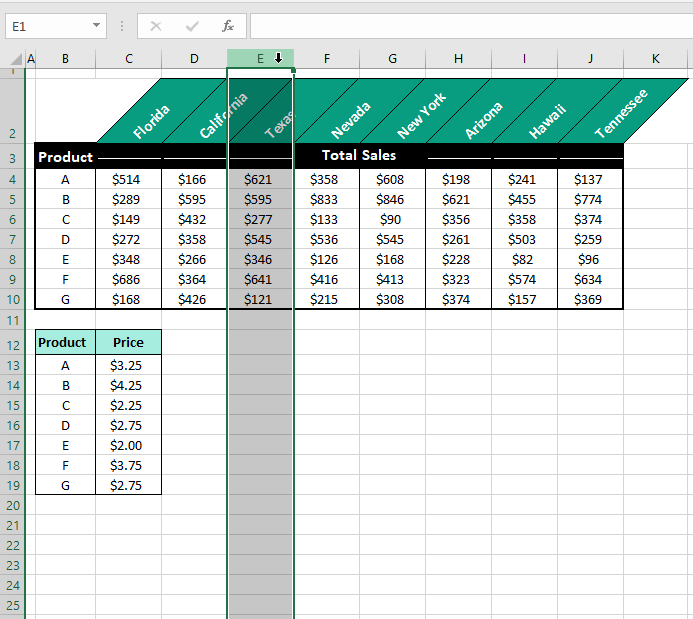
The quickest method of selecting columns, one that you have probably done a hundred times by now, uses the mouse. As an example, we’ll talk about selecting column E. For selecting an entire column, do the following:
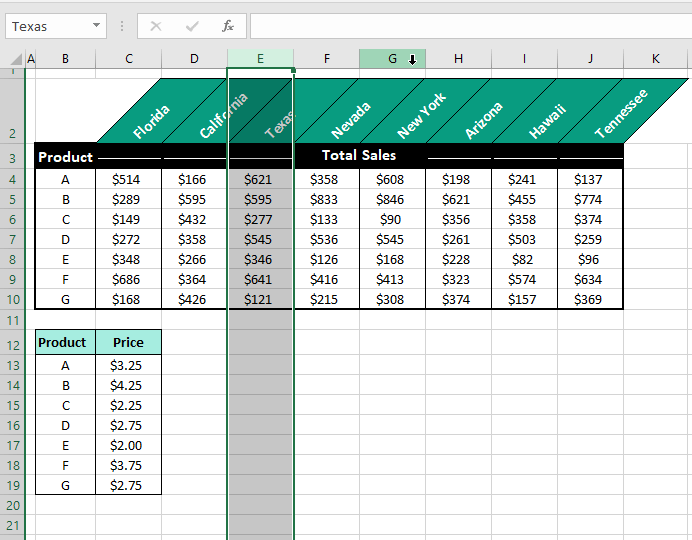
- Hover the cursor over the column header at the top of the active worksheet (where the column letters are) and it will change into a downward pointed arrow:
- Now when you click, the entire column will be selected.
Likewise, for selecting an entire row, click on the row header on the left of the active worksheet. But yes, that’s a talk for another day.
Selecting Multiple Adjacent Columns
For selecting adjacent columns (columns that are next to each other), e.g. columns E, F, and G, use these steps:
- Hover the cursor over the first column’s header, (column E in our case), and click and drag (holding down the left mouse button) to the last column (column G).
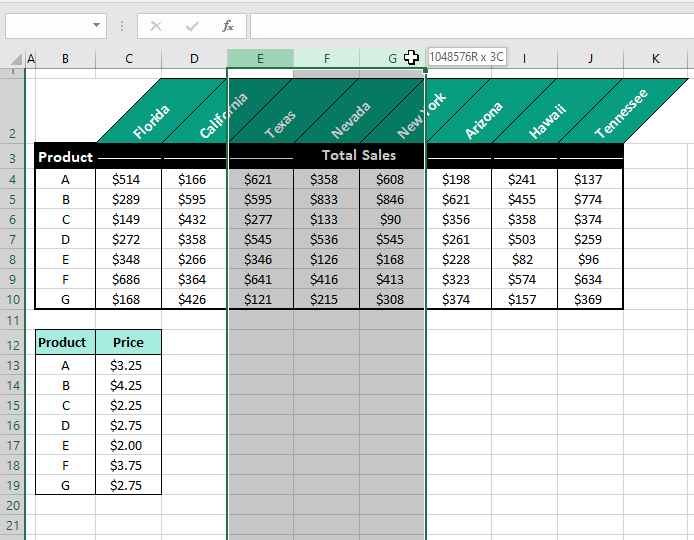
- When the left mouse button is released, the covered columns will remain selected:
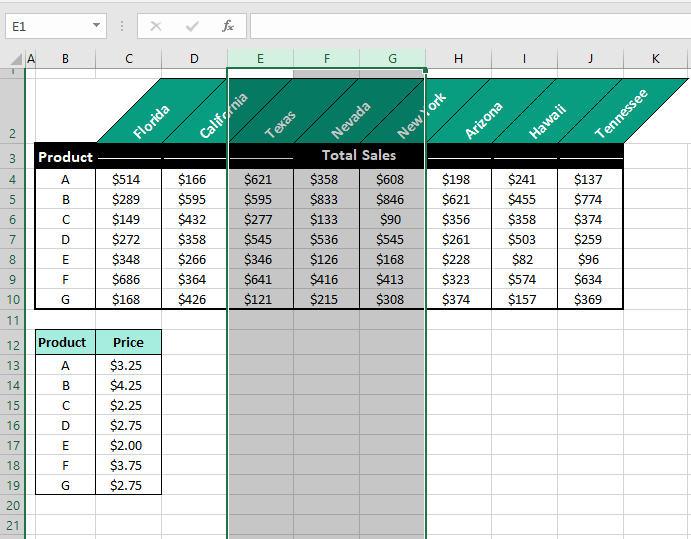
Note that the selection will also work clicked and dragged in reverse order from the last column to the first you want to select (column G to E).
Selecting Multiple Non-Adjacent Columns
Non-adjacent columns (columns that are not together) are the easiest to select using the mouse. With our example case, we’ll show you how to select columns E and G. To select non-adjacent columns, here is what you need to do:
- Hover the pointer over the first column’s header (column E) and click to select it.
- Hold down the Ctrl
- While holding down the Ctrl key, hover the pointer over the second column’s header (column G) and select the column by clicking on it.
- Release the Ctrl key when done selecting the columns.
- The non-adjacent columns E and G will be selected:
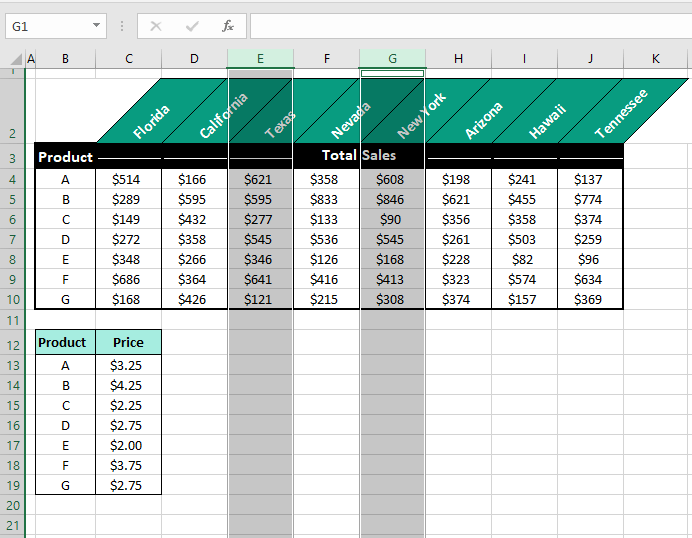
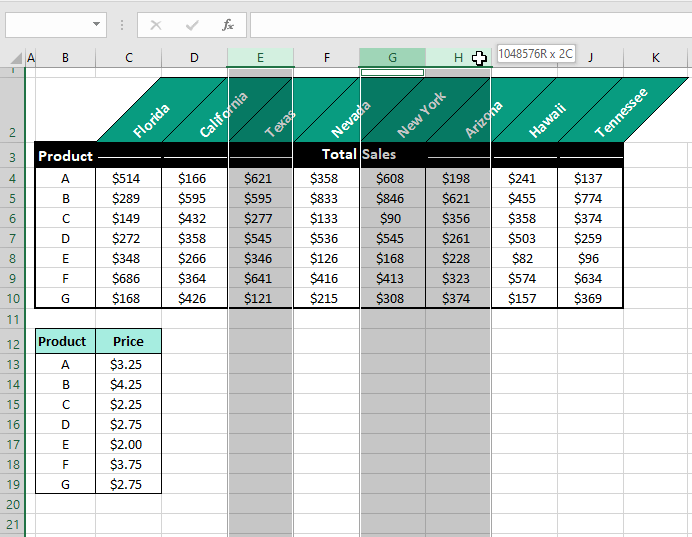
Multiple non-adjacent columns will be selected in the same way by pressing down the Ctrl key and clicking on the relevant column headers. To select non-adjacent columns and then adjacent columns (e.g. columns E, G, and H), select column E, press the Ctrl key, then click and drag the selection from column G to H.
Method #2 – Using Keyboard Shortcut
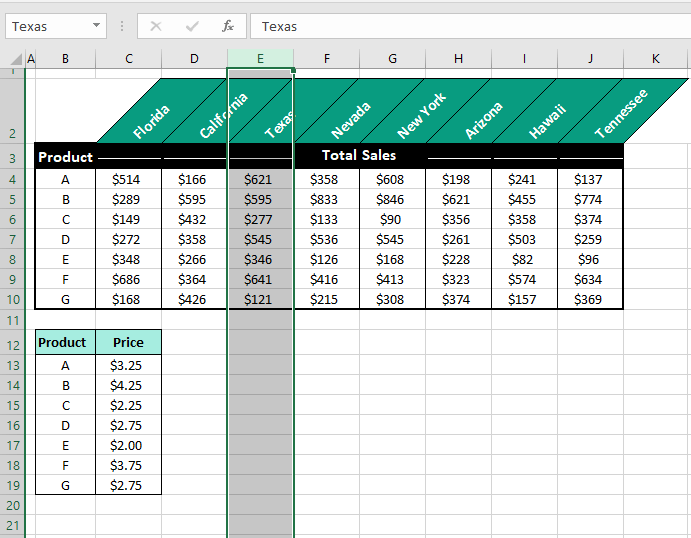
For selecting a single column (with our example, we will select column E), follow these steps:
- Select any cell in the column you want to select.
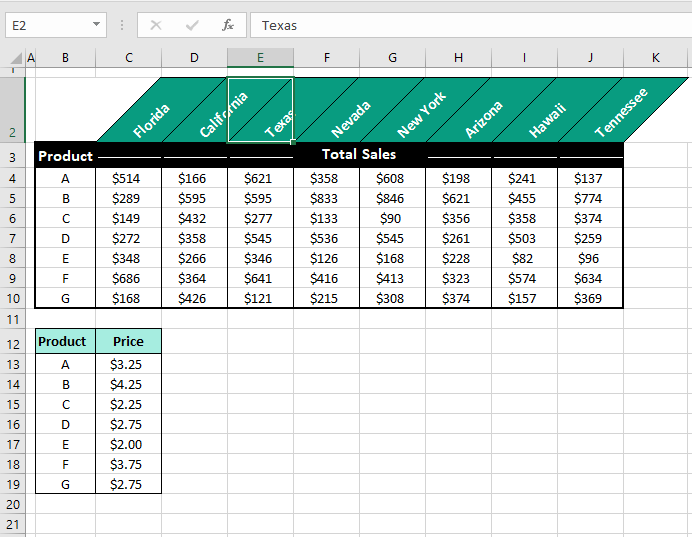
- With the active cell in the column you want selected, press the following keys:
Ctrl + Space
The entire column with the active cell will be selected:
Selecting Multiple Adjacent Columns
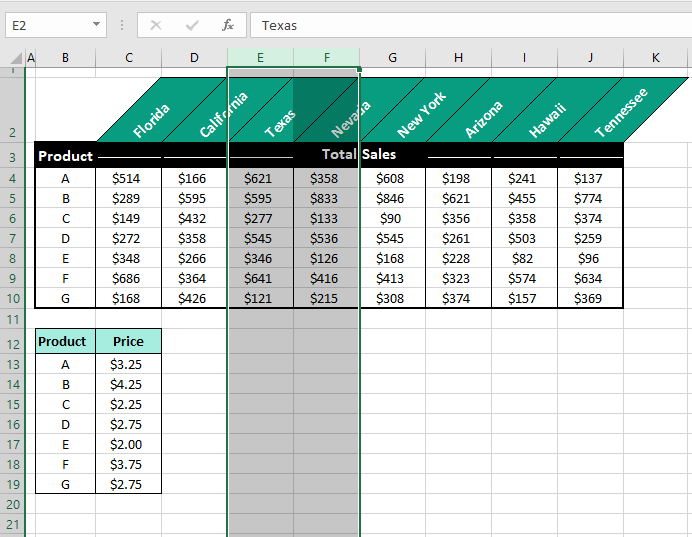
Multiple adjacent columns can be selected with the keyboard by selecting one column first and then using the Shift and Arrow keys. These are the steps to select e.g. the columns E and F:
- Select the first column by pressing the Ctrl + Space keys with the active cell in column E.
- While holding down the Shift key, use the Right Arrow key to select column F.
With these steps, columns E and F will be selected:
This can also of course work backward by selecting column F first and using the Left Arrow key to select column E.
Selecting Multiple Non-Adjacent Columns
To select non-adjacent columns, firstly one column needs to be selected. Then, with the Ctrl key pressed, a cell from the non-adjacent column will be selected. With the Space bar pressed again, the non-adjacent column will be selected. Let’s show you the steps with our case example for selecting columns E and G:
- With the active cell in column E, press the Ctrl + Space keys to select it.
- Let go of the Space bar but keep the Ctrl key pressed.
- Select a cell in column G.
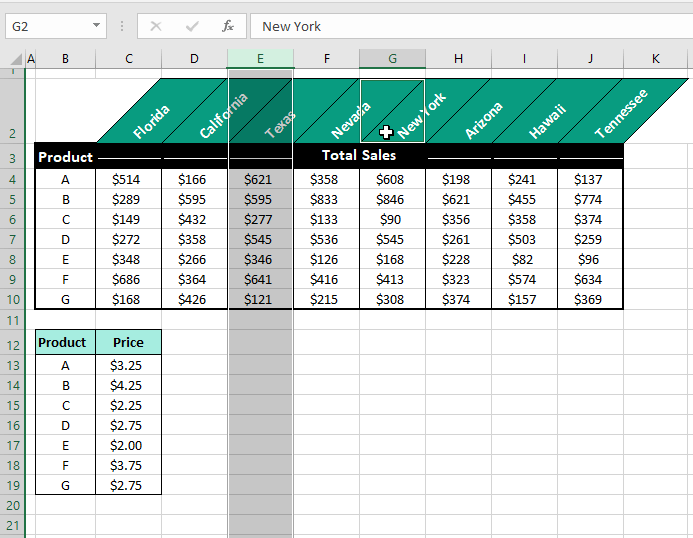
- With the Ctrl key still pressed, hit the Space bar to also select column G.
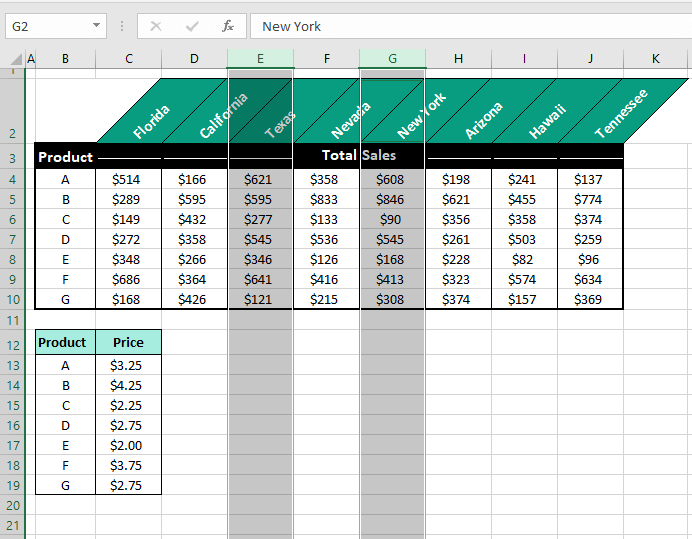
Now columns E and G will be selected:
Method #3 – Using Name Box
The Name Box is a very convenient Excel tool sitting just above the row and column headers that has other functions than primarily displaying the address of the active cell.
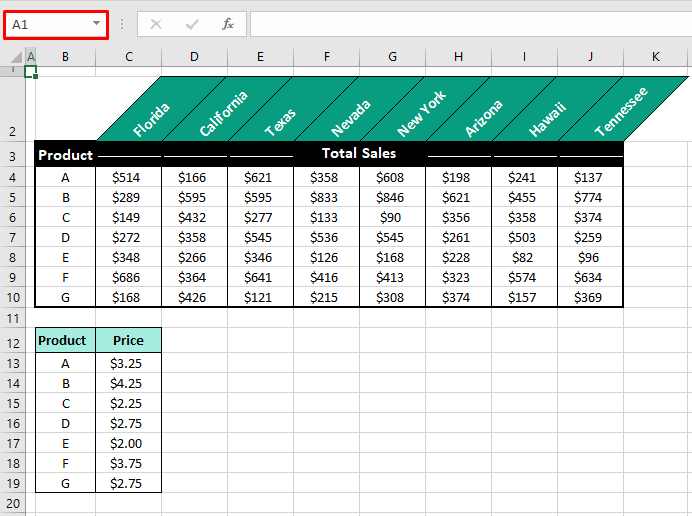
For now, we will show you how to select columns using the Name Box.
To select a single column, let’s say column E, see the following:
- Type the address of the column into the Name Box like so: E:E
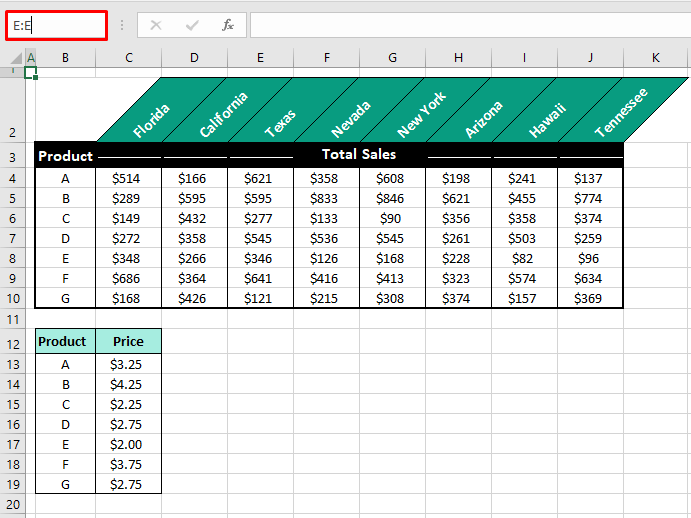
- Then hit the Enter. The entire column E will be selected:
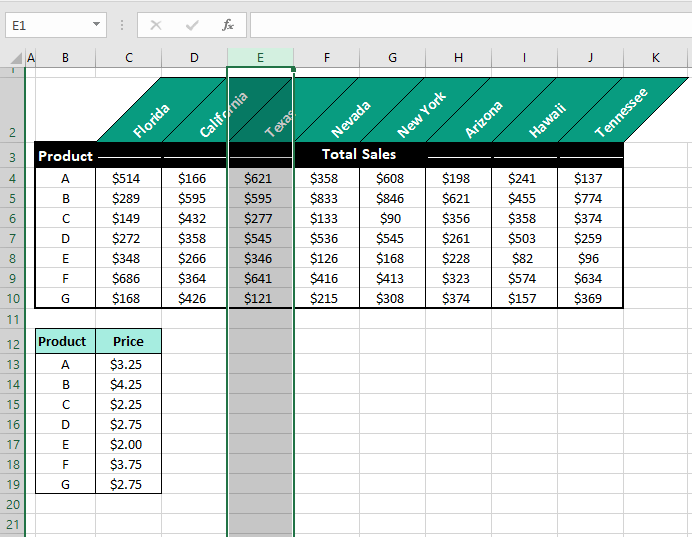
Lowercase letters, for example “e:e”, will also work with the Name Box.
Selecting Multiple Adjacent Columns
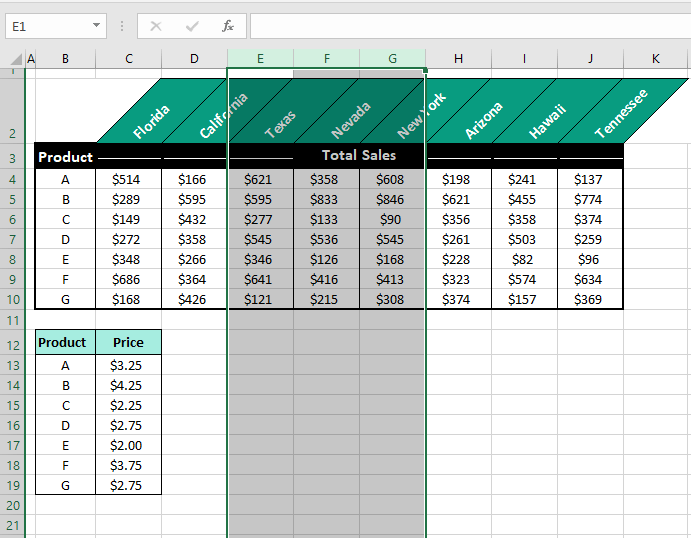
Here’s what you will need to do to select multiple adjacent columns e.g. columns E, F, and G:
- In the Name Box type the successive address of the adjacent columns you want to select: E:G
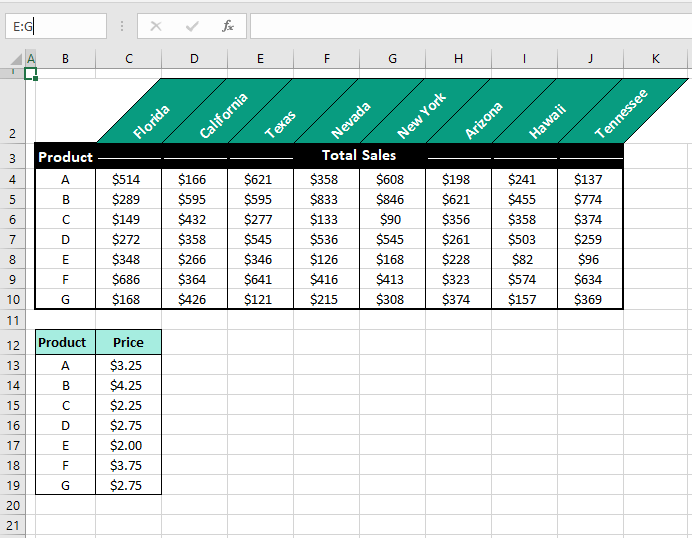
- Follow that by the Enter. The entered adjacent columns will be selected:
Selecting Multiple Non-Adjacent Columns
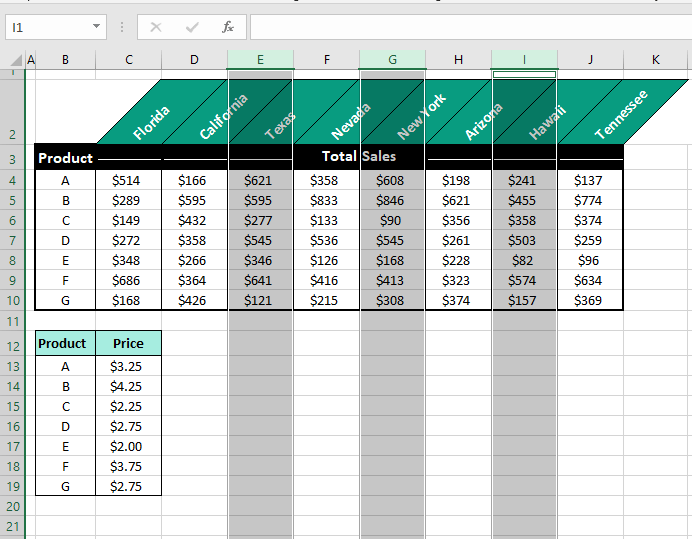
To select multiple non-adjacent columns, you will have to enter the selection for each column in the Name Box separated with commas. Let’s show you how to do that for selecting columns E, G, and I:
- Type the address of each column separately in the Name Box, joined by commas: E:E,G:G,I:I
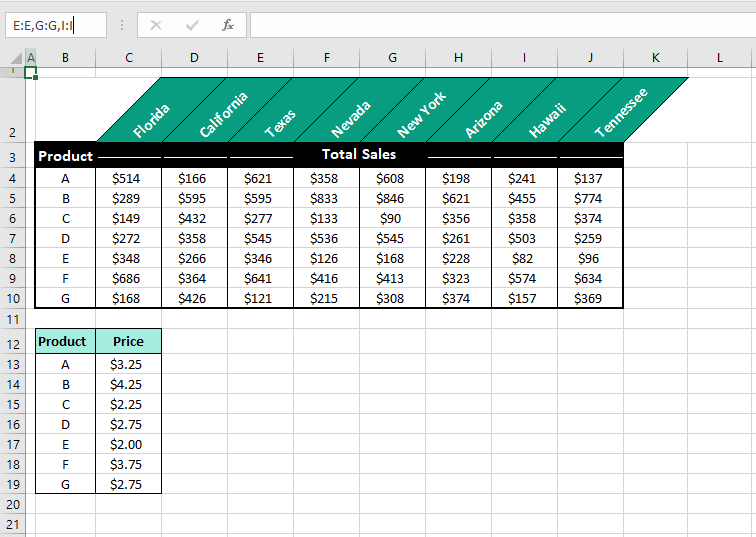
- Now press Enter. The non-adjacent columns specified in the Name Box will be selected:
Method #5 – Using Named Ranges
Named Ranges are another convenient feature still involving the Name Box. If you have a Named Range, you only need to select the name from the Name Box’s drop-down menu to select the range on the worksheet.
But before that, you must have created the Named Range. We know it sounds high-tech and while you can read all about it here, all you have to do is make the cell selections, click on the Name Box and enter a name.
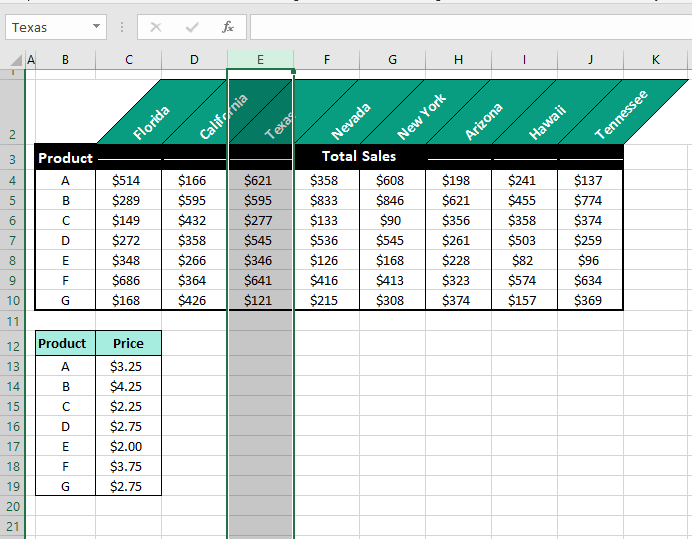
In our case example, we have created a Named Range for column E, naming it “Texas”. With that sorted, let’s see what we have to follow to select a column using Named Ranges:
- Click on the small arrow in the Name Box to open its drop-down menu.
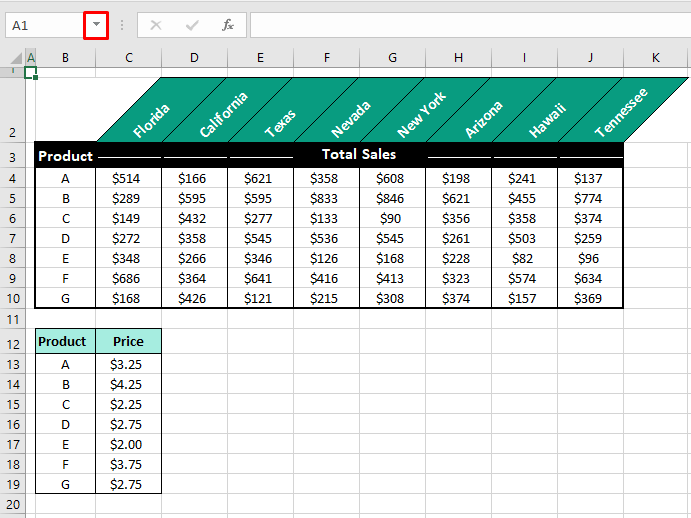
- Select the respective Named Range for your column (“Texas” in our example).
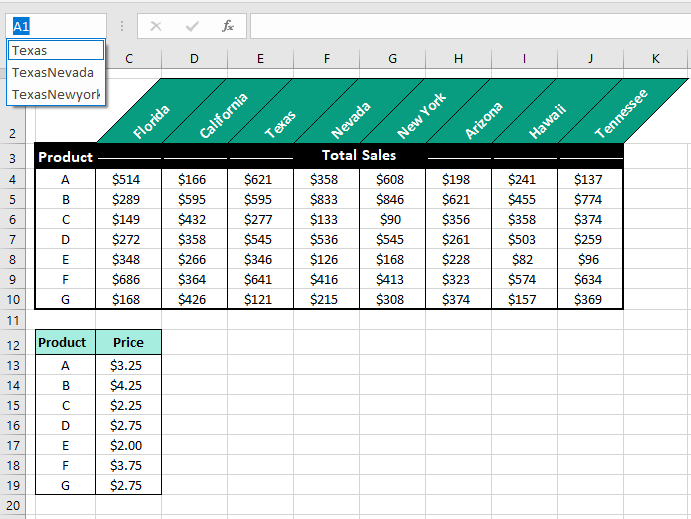
When the Named Range is clicked, the column will be immediately selected with the name of the range displayed in the Name Box:
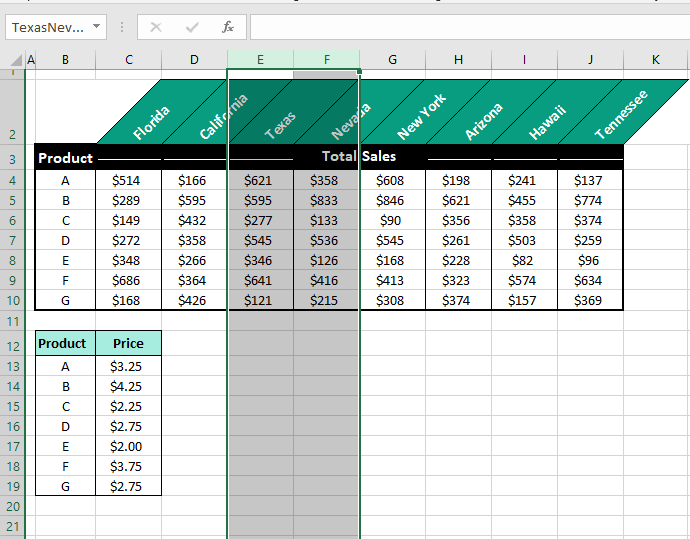
Similarly, Named Ranges can be created for adjacent and non-adjacent columns and selecting them from the Name Box will select the columns.
TexasNevada Named Range for adjacent columns E and F selected:
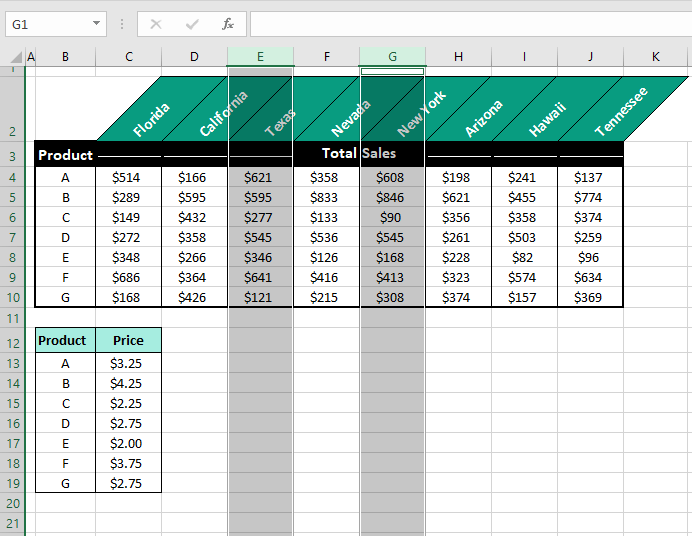
TexasNewyork Named Range for non-adjacent columns E and G selected:
That was the entire Excel shorty of today! See how easy that was? We hope you learned a thing or two to add to the Excel tricks up your sleeve. Many more tricks are lined up for you that are shorties and lengthies and everything in between. We’ll see you back with something selected!


